How to create a blog with Node.js and Express.js

I love researching and writing about software development tools.
Express.js is a fast and popular Node.js framework that can be used to create web applications and APIs. It provides you with a robust set of features that helps you manage and extend the functionalities of your applications.
In this tutorial, I'll be showing you how to create a blog that has a few endpoints. The goal of this tutorial is to give you a practical introduction to Node.js and Express.js.
The general approach to take when creating a Node.js-powered blog involves installing Node.js and Express.js, creating an instance of Express.js, defining routes that respond to HTTP requests by returning HTML pages, running your server and adding other functionalities.
Setting up
First, ensure you have Node.js installed on your system. Type node --version to check your Node.js version.
Create a folder (named blog project), navigate to it with your system's CLI, and create a package.json file for your folder.
npm init
After creating your package.json file, install express.js with this command:
npm install express
Next, create an app.js file and add the following code to it:
// 01
const express = require('express');
const app = express();
const port = 3000;

// 02
app.get('/', (req, res) => {
  res.send('Welcome to my blog')
})

// 03
app.listen(port, () => {
  console.log(`Listening on port ${port}`)
})
Time to break down the code.
// 01
const express = require('express');
const app = express();
const port = 3000;
...
First, we imported and created an instance of express.js library and then stored the port number our server will be listening to in a variable.
...
// 02
app.get('/', (req, res) => {
  res.send('Welcome to my blog')
})
...
The code above will respond to all HTTP GET requests directed at the root URL(/). The response from the server will always be 'Welcome to my blog'
...
// 03
app.listen(port, () => {
  console.log(`Listening on port ${port}`)
})
...
The code above means our web server will only listen to the connections on port 3000.
Running the server
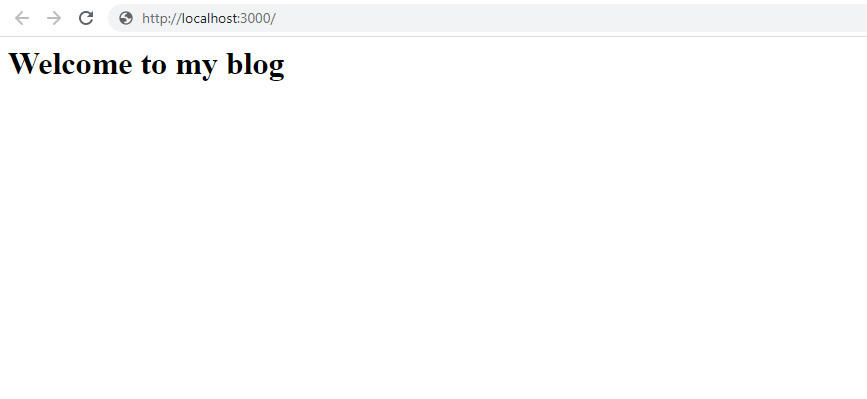
To run your server, navigate to your project's directory on CLI and type node app.js. Then open your web browser and type http://localhost:3000/ on the search bar.
If everything goes well, this should be the result:
Creating routes
In this blog app, we'll be creating routes to 4 endpoints: /, /post1, /post2 and /post3. Create a folder (named public) within your project and add 3 other folders(html, font, images) within it. within the html folder, add 4 HTML files(homepage.html, post1.html, post2.html, post3.html) to it.
The folder structure should be like this:
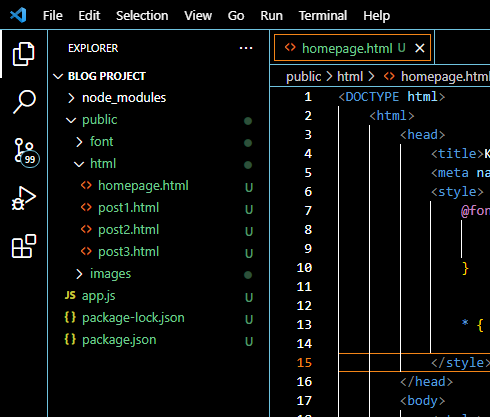
Add some HTML code to your homepage.html (and the remaining files). If you don't have any, copy the code below to your homepage.html.
<DOCTYPE html>
<html>
    <head>
        <title>Khloe's blog</title>
        <meta name="viewport" content="width=device-width, initial-scale=1.0">
        <style>
            @font-face {
                font-family: 'OpenSans';
                src: url('../font/OpenSans/OpenSans-Regular.ttf') format('truetype');
            }

        </style>
    </head>
    <body>
        <style>
            * {font-family: OpenSans;margin:0;pading:0;}
            header {text-align: center;border-top: 5px solid black;background-color:rgb(255,193,90);}
            section {display:flex;flex-direction:row;flex-wrap:nowrap;padding: 25px;background-color: rgb(248,252,255);}
            section div.a, section div.b {width: 50%;}
            div.aa {display:flex;flex-direction:row;flex-wrap:nowrap;margin-bottom: 2%;}
            img {border-radius: 50px;}
            div.a {width: 48%;margin-right: 2%;}
            div.b {width: 48%;margin-left: 2%;}
            div.a img {width: 100%;height: 60vh;}
            div.b img {width: 300px; height: 30vh;margin-right: 1%;}
            p {line-height: 2;}
            p.p{font-size: 13pt;}
            h2 {font-size: 28pt;}
            p.tag span {display:inline-block;font-size: 13pt;padding: 5px;border-radius: 10px;border: 2px solid black;}
        </style>
        <header>
            <h1>Khloe's blog</h1>
        </header>
        <section>
            <div class='a'>
                <img src='../images/book.png'>
                <div>
                    <p class='p'>Published on 22th of dec 2020</p>
                    <h2>Year 2020 in a nutshell: How i become a software developer.</h2>
                    <p class='p'>Year 2022 was probably the most important period in my life</p>
                    <p class='tag'> <span>Motivation</span> </p>
                </div>
            </div>
            <div class='b'>

                <div class='aa'>
                    <img src='../images/landscape.jpg'>
                    <div>
                        <p class='p'>Published on 15th of March 2022</p>
                        <h2>Beatiful landscapes in the world</h2>
                        <p class='p'>Most of these landscapes are best for family ...</p>
                        <p class='tag'> <span>Tourism</span> </p>
                    </div>
                </div>
                <div class='aa'>
                    <img src='../images/fog.jpg'>
                    <div>
                        <p class='p'>Published on 22th of January 2023</p>
                        <h2>How i never stopped believing</h2>
                        <p class='p'>This is a story written to inspire anyone ...</p>
                        <p class='tag'> <span>Inspiration</span> </p>
                    </div>
                </div>
            </div>
        </section>
    </body>
</html>
Replace the code in your app.js file with this:
const express = require('express');
const app = express();
const port = 3000;

// path module
var path = require('path');

// routes
app.get('/', (req, res) => {
  res.sendFile(path.join(__dirname, '.','/html/homepage.html'));
})

app.get('/post1', (req, res) => {
  res.sendFile(path.join(__dirname, '.','/html/post1.html'));
})

app.get('/post2', (req, res) => {
  res.sendFile(path.join(__dirname, '.','/html/post2.html'));
})

app.get('/post3', (req, res) => {
  res.sendFile(path.join(__dirname, '.','/html/post3.html'));
})

app.listen(port, () => {
  console.log(`Listening on port ${port}`)
})
Let me explain some of the code.
// path module
var path = require('path');
Here we imported the path module - a module for working with directories.
// routes
app.get('/', (req, res) => {
  res.sendFile(path.join(__dirname, '.','/html/homepage.html'));
})

app.get('/post1', (req, res) => {
  res.sendFile(path.join(__dirname, '.','/html/post1.html'));
})

app.get('/post2', (req, res) => {
  res.sendFile(path.join(__dirname, '.','/html/post2.html'));
})

app.get('/aboutus', (req, res) => {
  res.sendFile(path.join(__dirname, '.','/html/aboutus.html'));
})
The above code describes the server's response to any GET request directed at the four route paths. I used the res.sendFile() method to return a specific HTML file for any request to the routes. I also used the path.join() method to accurately describe the file directory of the HTML files to send.
when you run the Node.js server on the CLI with node app.js and open one of the URLs(eg homepage.html) with your web browser, the result should be like this if you used the HTML code above:

Linking static files
If your blog has some images, CSS and JavaScript files that need to be loaded when a request is made to an endpoint, Instead of navigating through parent folders to get your resources, you can use express.js to create a link to the folder holding your resources (in this case public folder).
We'll use the express.static() middleware to load the static files.
Add the following code to your app.js file.
app.use(express.static(path.join(__dirname, 'public')))
This way it becomes easier to link resources in your HTML files.
instead of using only relative paths:
...
<img src='../images/fog.jpg'>
...
You are at liberty to use either absolute or relative path:
<!--image is stored in the public folder-->
<img src='http://localhost:3000/images/fog.jpg'>
<!-- or -->
<img src='/images/fog.jpg'>
Conclusion
In the article, we've learnt how to create a web server with Express.js, use Node.js built-in modules and also serve static files through the web server. Stay tuned for more tutorials.


